If you’re looking for a bold, eye-catching hairstyle that shows off your natural texture, the frohawk is where it’s at. This style is the perfect blend of edgy and elegant, making it a go-to look for when you want to make a statement. Whether you’re heading to a special event or just want to switch up your everyday style, the frohawk is versatile enough to fit any occasion.
So, if you’re ready to rock a frohawk that turns heads, you’re in the right place! Let’s walk through how to create a beautiful frohawk that flaunts your gorgeous natural curls.
Feel like your hair has been the same length forever, I’ve an Ebook that will help you grow your hair healthier, longer and thicker. Grab your copy here… Also, check out all the Ebooks,guides and journals that will go a long way in your hair care journey here.
Table of Contents
How to Create a Perfect Frohawk: Step-by-Step Guide
What is a Frohawk?
First things first—what exactly is a frohawk? Imagine the classic mohawk, but instead of straight hair spiked in the center, you’ve got a voluminous, curly ‘fro taking center stage. The sides are usually slicked down or braided, which helps to highlight the full, fluffy texture of your curls. The frohawk is a celebration of natural hair in all its glory, and it’s a style that works for all hair lengths and textures.
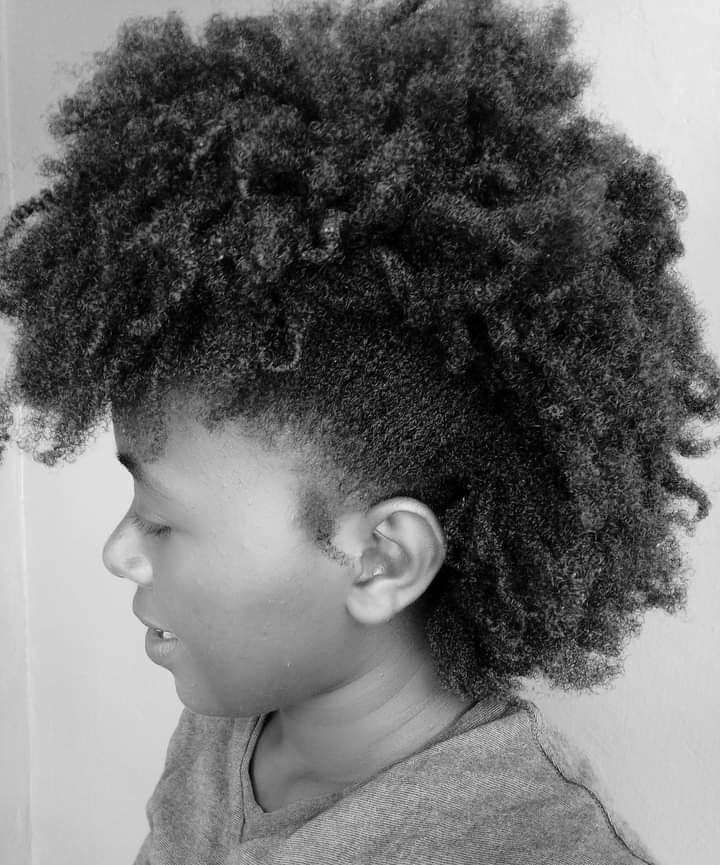
How to Style A Frohawk on Natural Hair.
Step 1: Start with Clean, Moisturized Hair
The foundation of any great hairstyle is healthy, moisturized hair. Before you begin creating your frohawk, make sure your hair is clean, conditioned, and well-moisturized.
Cleansing:
Start by washing your hair with a sulfate-free shampoo like Jamaican Black Castor Oil Strengthen & Restore Shampoo. This will cleanse your scalp without stripping your hair of its natural oils. Follow up with a deep conditioner to give your curls some extra TLC.
Moisturizing:
Apply a leave-in conditioner to keep your hair hydrated. I recommend the Cantu Shea Butter Leave-In Conditioning Repair Cream for its thick, nourishing formula that’s perfect for type 4 hair. Seal in that moisture with a light oil like jojoba oil or coconut oil.
Pro Tip: If you have time, let your hair air-dry about 80% before starting. This will make it easier to manipulate your curls without causing unnecessary frizz.
Step 2: Section Your Hair
Now that your hair is prepped, it’s time to section it off. The frohawk is all about that dramatic, central strip of curls, so you’ll want to separate the middle section of your hair from the sides.
How to Section:
- Using a rattail comb, part your hair vertically from the front of your head to the nape of your neck, creating a section down the middle. The width of this section is up to you, but typically, it’s about 3-4 inches wide.
- Clip or tie up the middle section so it’s out of the way while you work on the sides.
Pro Tip: If you want a super defined frohawk, you can create smaller sections within the middle part. This will give you more control over how voluminous your curls look.
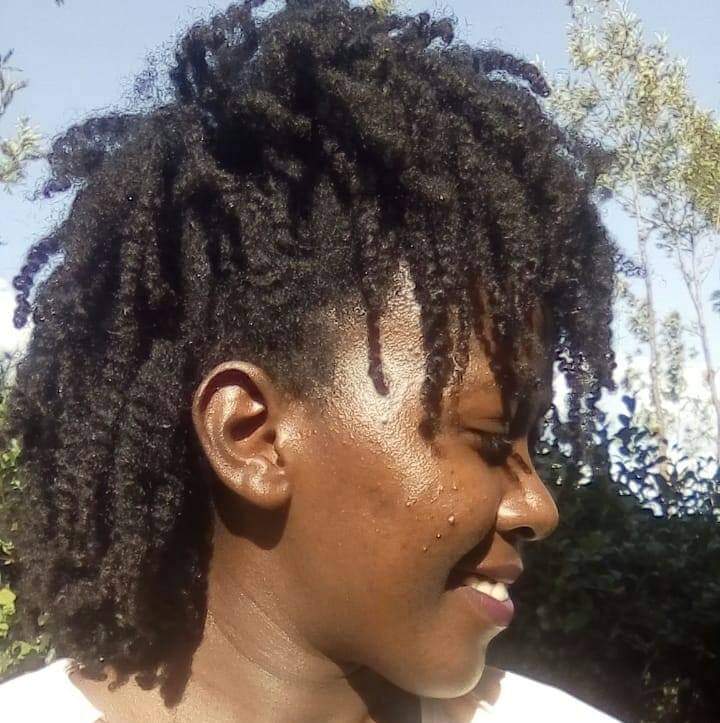
Step 3: Style the Sides
The sides of your frohawk are where you can really get creative. The goal here is to sleek them down so that the focus remains on the voluminous center.
Slicked-Back Look:
- Apply a generous amount of gel to the sides of your hair. I recommend Eco Styler Olive Oil Gel for a strong hold that doesn’t flake. You can also choose to only use a leave-in conditioner on the sides if you don’t like gels.
- Use a boar bristle brush to smooth the sides down towards the nape of your neck. You can either leave the hair to hang loose at the back or secure it with hairpins or small elastics.
- For extra hold, wrap a satin scarf around your head for about 10-15 minutes to set the style.
Braided or Twisted Sides:
If you want to add some extra flair to your frohawk, consider braiding or twisting the sides.
- After applying your gel, create cornrows or flat twists on each side of your head, directing them towards the middle section.
- Secure the ends of the braids or twists with small elastics or bobby pins.
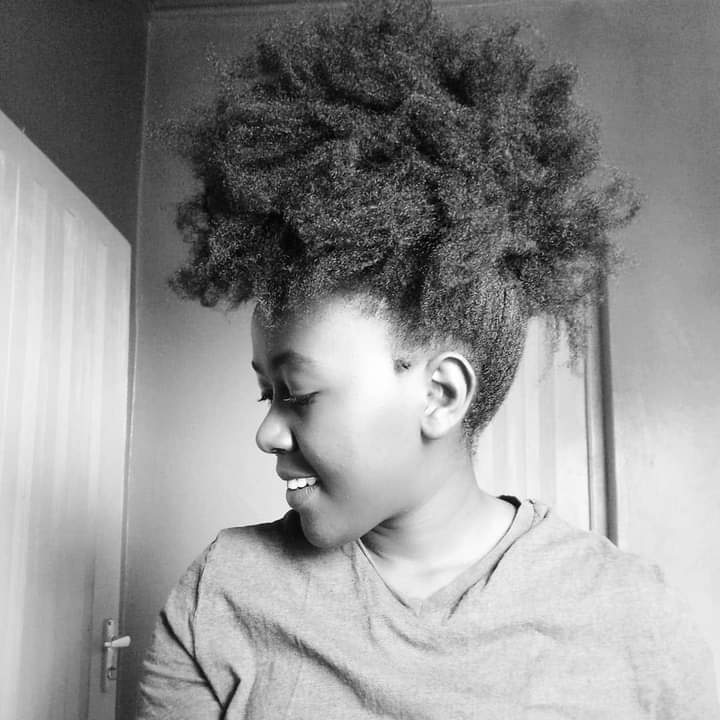
Pro Tip: For a more polished look, make sure your parts are as neat as possible. You can use edge control like Murray’s Edgewax to smooth down any flyaways and define your edges.
Step 4: Fluff and Shape the Frohawk
With the sides of your hair styled, it’s time to unleash the curls in the middle section. This is where your frohawk really comes to life!
Define Your Curls:
- If your curls need a little extra definition, you can apply a curl cream like Camille Rose Naturals Curl Maker to the middle section of your hair.
- Use a pick or your fingers to fluff out your curls, focusing on creating volume at the roots.
- Shape your frohawk by gently pulling and patting your curls into the desired form. You want to create a rounded shape that tapers towards the nape of your neck.
Pro Tip: For added volume, you can gently tease the roots of your hair with a hair pick.
Step 5: Set Your Frohawk
To ensure your frohawk stays in place all day (or night), you’ll want to set it with a light hairspray or a holding mist.
Setting Your Style:
- Lightly spritz your frohawk with a holding spray like Design Essentials Natural Curl Enhancing Mousse. This will help to set your curls without making them stiff or crunchy.
- If you notice any loose pieces or flyaways, tuck them in with bobby pins. You can also use extra gel to smooth down any areas that need a little more hold.
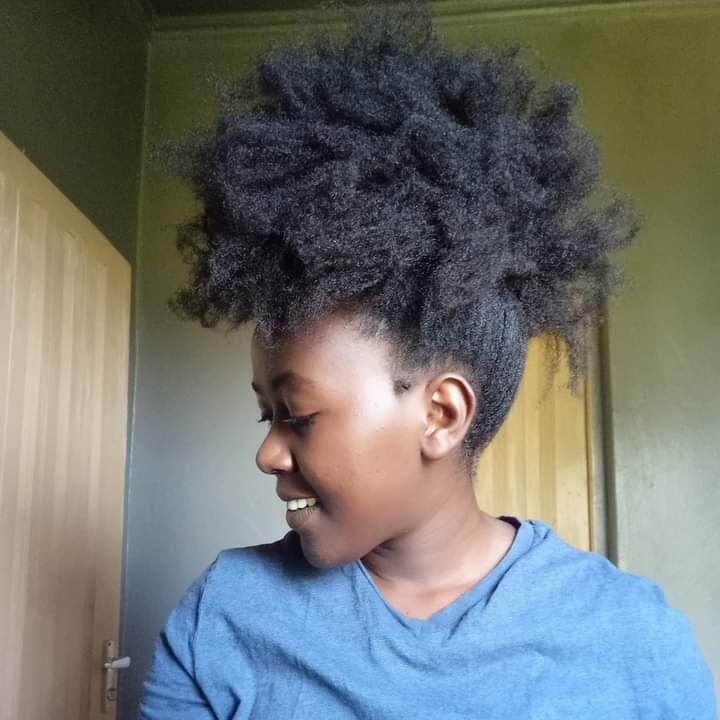
Pro Tip: For extra shine, finish off your look with a light oil sheen spray like Cantu Coconut Oil Shine & Hold Mist with Shea Butter.
Step 6: Accessorize (Optional)
The frohawk is a showstopper on its own, but if you want to take it up a notch, feel free to accessorize!
Accessory Ideas:
- Hair Jewelry: Add some gold or silver cuffs to your braids or twists for a touch of glam.
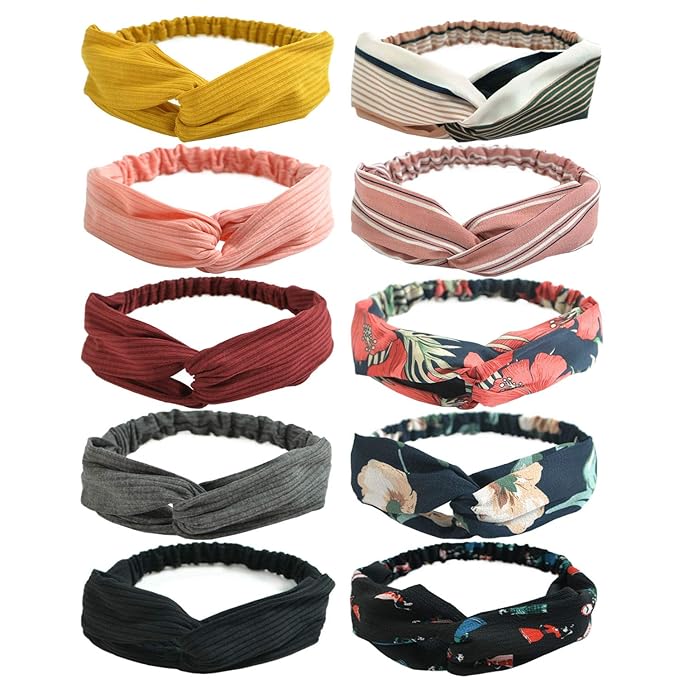
- Headbands: A sleek, decorative headband can add a stylish edge to your frohawk.
- Bobby Pins: Use colorful or embellished bobby pins to secure your frohawk and add some sparkle.
Pro Tip: Don’t overdo it with the accessories. The frohawk is the star of the show, so keep your accessories minimal to let your curls shine.
Creating a frohawk is all about embracing your natural texture and letting your curls take center stage. It’s a versatile style that can be as bold or as understated as you like, and it’s perfect for showing off your natural hair in a fun and creative way.
Whether you’re rocking your frohawk for a special occasion or just because you’re in the mood for something different, remember to have fun with it! Experiment with different techniques, try out new products, and most importantly, flaunt your frohawk with confidence.
So, go ahead and give the frohawk a try! Your curls deserve to be celebrated, and there’s no better way to do that than with this stunning, statement-making style.
Have you tried rocking a frohawk before? Share your tips and tricks in the comments below—I’d love to hear how you style your frohawk!

