Hey, bestie! So, you finally have those open shelves you’ve been dreaming of, huh? Whether they’re in your kitchen, living room, bathroom, or even your bedroom, open shelving can totally elevate your space. But let’s be real for a second styling open shelves isn’t as easy as just plopping some books and decor pieces on them. Nope, it’s an art, but don’t worry! I’ve got you covered with all the juicy details and insider tips to make your shelves Pinterest worthy. Grab a cup of coffee (or rosé), and let’s dive in!
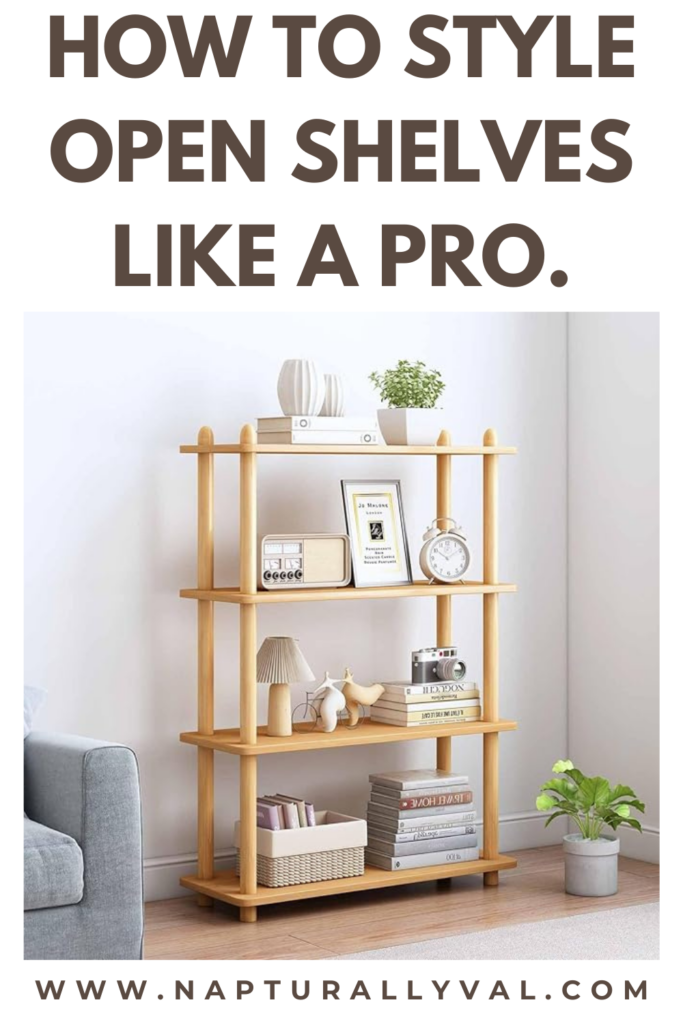
Table of Contents
Why Open Shelving?
First things first, let’s talk about why open shelving is such a game-changer. These beauties are versatile, functional, and oh-so-stylish. They create an airy, open vibe and give you a chance to display your favorite items—a peek into your personality and style. Plus, they’re budget-friendly and work in almost any space. But, without the right touch, they can look cluttered or sterile. That’s where styling comes in!
Related post: How to Style Your Bookshelves Like a Pro
How to Style Open Shelf.
Step 1: Declutter Like a Boss
Before you even think about styling, you need to declutter. Trust me, the secret to stunning open shelves is starting with a clean slate. Take everything off and decide what’s worth keeping. Marie Kondo those shelves, babe! If it doesn’t spark joy, it’s out.
Pro Tip: Keep functionality in mind. If your shelves are in the kitchen, prioritize dishes and glasses you actually use. If it’s the living room, think books, plants, and decor.
Step 2: Choose a Color Palette
Okay, now that you’re decluttered and feeling fabulous, it’s time to think about colors. Sticking to a cohesive color palette is key to making your shelves look polished and intentional. Think soft neutrals for a boho vibe, monochromatic black and white for modern chic, or mix in pastels for a girly touch.
Some Faves:
- Ceramic Vases Set: These come in soft, neutral tones and are perfect for that minimalist aesthetic.
- Stackable Glass Canisters: Perfect for kitchens and bathrooms, plus they’re functional and cute!
Related posts: How to Choose the Perfect Color Palette for Your Home.
Step 3: Mix Heights and Textures
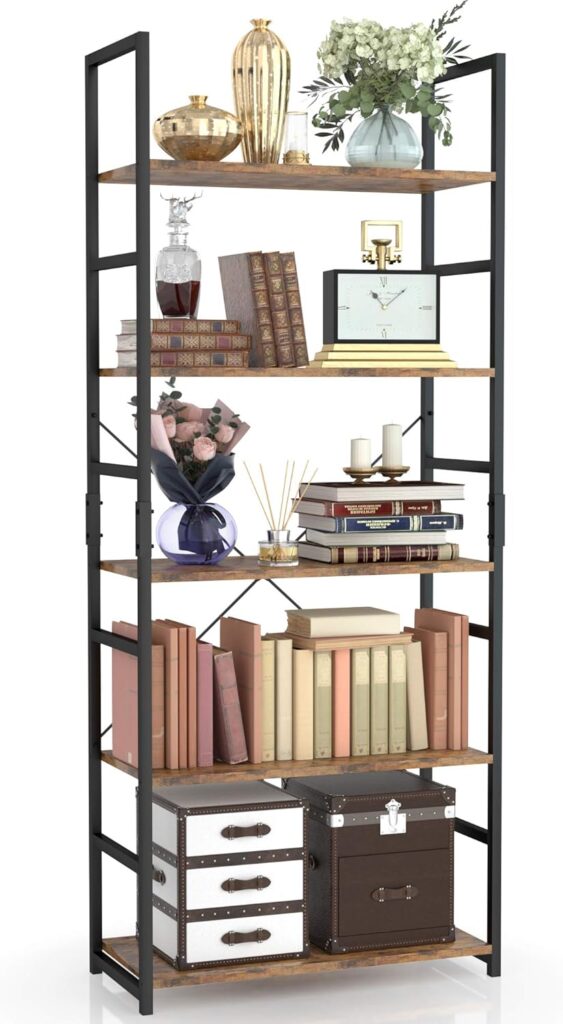
Variety is the spice of life—and shelves! To create visual interest, mix items of different heights and textures. Pair glossy ceramics with woven baskets, rough wood with shiny metals, or soft fabrics with sleek glass.
Pro Tip: Use stackable books as risers for smaller decor pieces. Not only does it look chic, but it also adds layers to your arrangement.
Some Faves:
- Woven Storage Baskets: These are amazing for hiding unsightly items while adding a cozy texture.
- Decorative Stacked Books: Instant glam with no actual reading required—yes, please!
Step 4: Incorporate Greenery
No shelf is complete without a touch of nature. Plants add life, color, and that fresh vibe we’re all after. If you’re not a plant mama, don’t sweat it—faux plants are your BFF.
Some Faves:
- Potted Faux Plants: Low maintenance and oh-so-cute.
- Hanging Planters: Great for that boho jungle look.
Step 5: Create Balance
Balance is everything, darling. When arranging your shelves, think about symmetry and weight. You don’t want one side looking heavier than the other. Place larger or heavier items first and fill in with smaller accents.
Pro Tip: Use the “Rule of Threes” when grouping items. Odd numbers look more natural and less forced.
Some Faves:
- Wooden Bookends: Stylish and functional—win-win!
- Metal Picture Frames: Perfect for personal touches.
Step 6: Add Personality
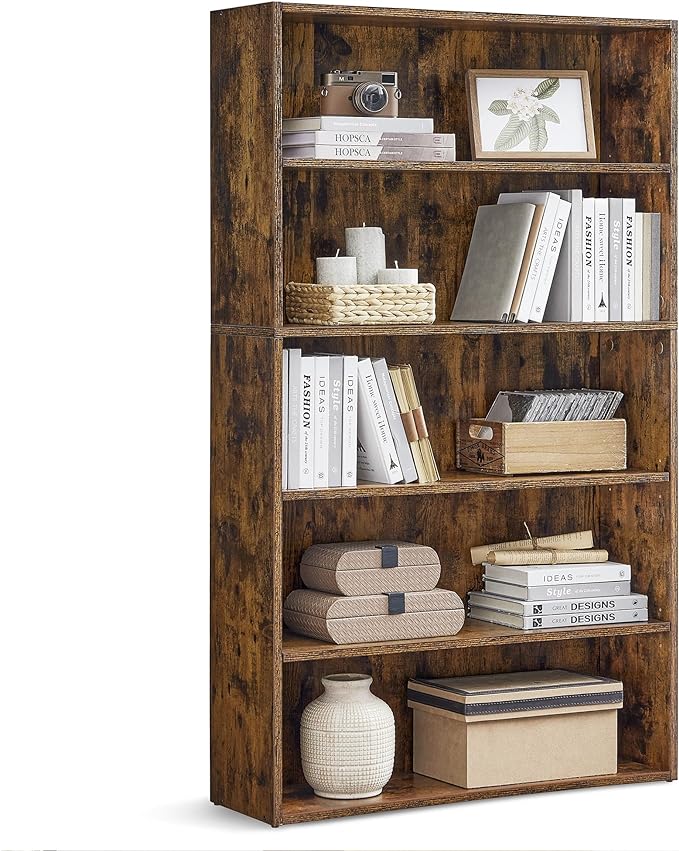
Your shelves should scream YOU. Mix in personal items like framed photos, travel souvenirs, or quirky collectibles. These are the pieces that make your shelves unique and full of character.
Some Faves:
- Photo Clip String Lights: Add a whimsical touch to your personal photos.
- Vintage-Inspired Globes: Great for travel lovers.
Step 7: Layer, Layer, Layer
One-dimensional shelves? No, thank you! Layering is the secret sauce to creating depth and interest. Start with larger pieces at the back and work your way forward with smaller accents.
Pro Tip: Use framed art or mirrors as a backdrop and layer smaller items in front. It’s an instant upgrade.
Some Faves:
- Small Framed Wall Art: Great for layering without committing to wall mounting.
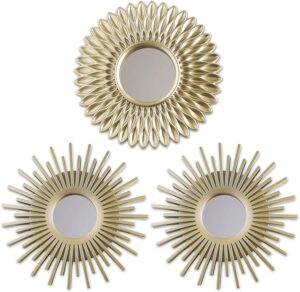
- Mini Accent Mirrors: Adds a touch of glam.
Step 8: Leave Some Breathing Room
Listen, we love a maximalist moment, but even that needs some negative space to shine. Leaving a bit of breathing room ensures your shelves don’t look overcrowded or messy.
Pro Tip: Less is more! It’s okay to leave some shelves almost bare for that curated look.
Step 9: Light It Up
Lighting can take your open shelving to the next level. Think fairy lights, LED strips, or even a small table lamp nearby. The glow adds warmth and makes everything look extra dreamy.
Some Faves:
- Fairy String Lights: Because everything’s better with a little sparkle.
- Battery-Powered LED Strips: Easy to install and perfect for highlighting your shelves.
Open Shelving in Different Spaces
Let’s talk about how to style open shelving in specific rooms because each space has its own vibe, right?
Kitchen
- Use clear jars for pantry staples.
- Stack pretty plates and bowls.
- Add a few cookbooks and a potted herb plant.
Living Room
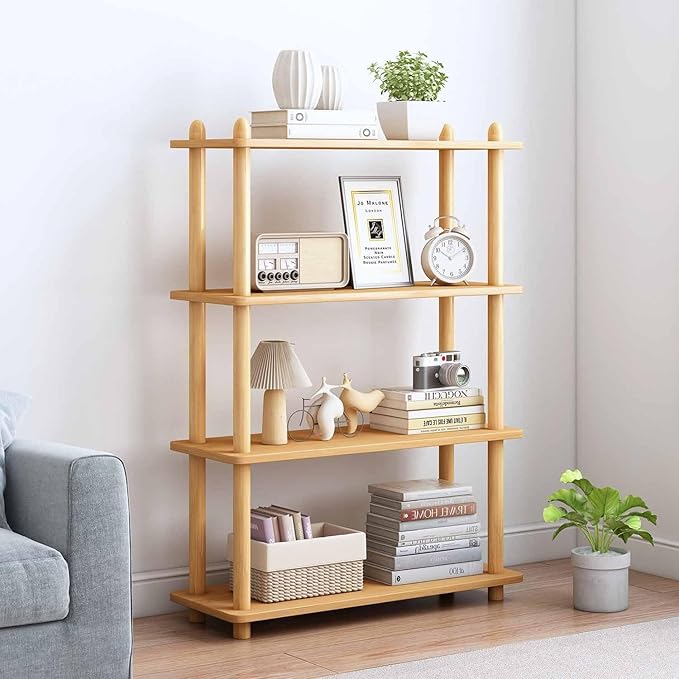
- Combine books with decorative objects.
- Incorporate framed photos and art.
- Use candles and greenery for warmth.
Bathroom
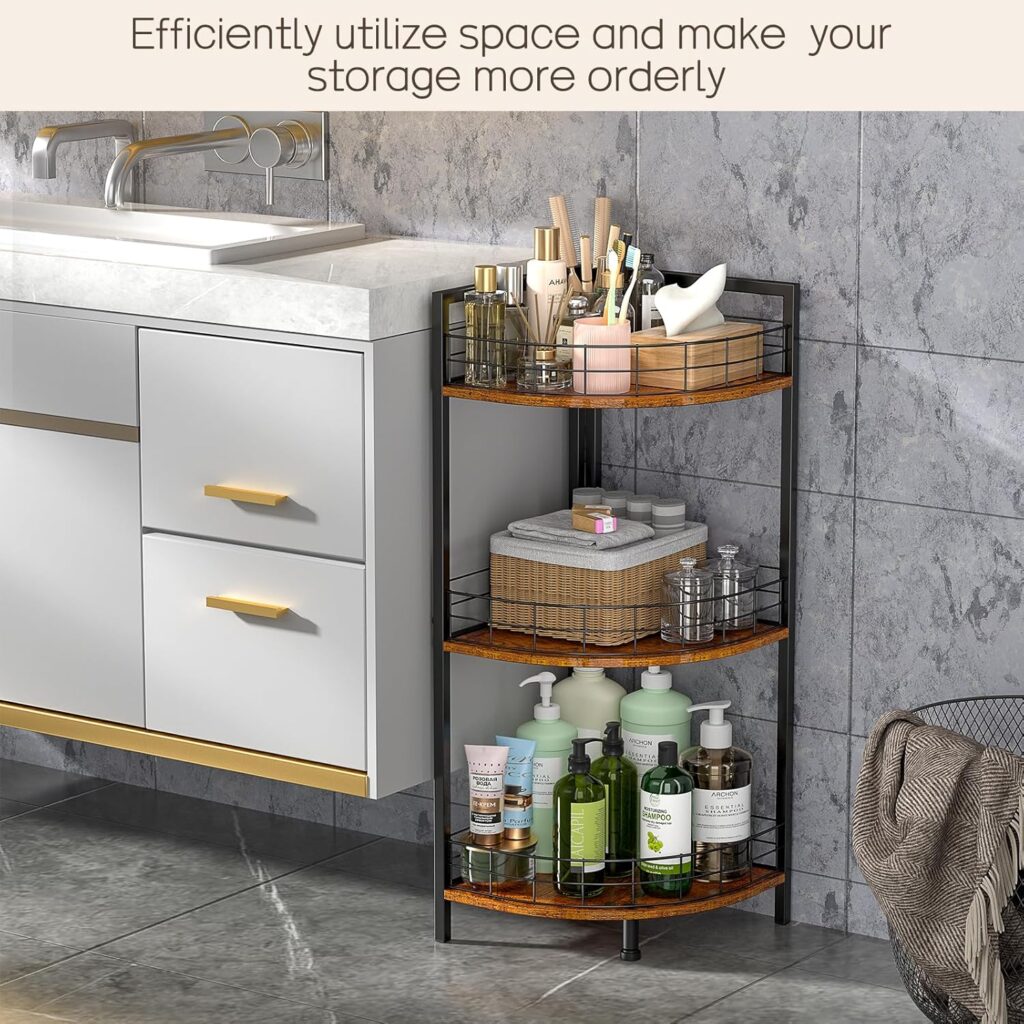
- Roll up fluffy towels in a basket.
- Display pretty jars of bath salts or soaps.
- Add a small plant or diffuser for a spa vibe.
Bedroom
- Use your shelves as a mini library.
- Add a jewelry stand or tray.
- Incorporate soft lighting for a cozy touch.
Final Thoughts
Styling open shelves is all about finding that sweet spot between beauty and functionality. Play around, move things until they feel just right, and don’t be afraid to switch it up every now and then. And remember, it’s your space—let it reflect your style and personality.
So, are you ready to turn your open shelving into a masterpiece? Let me know how it goes—and tag me on Instagram if you’re sharing pics! I can’t wait to see your creations. Happy styling, babe!

