Hey there, lovely! Have you ever scrolled through Pinterest or Instagram and swooned over those stunning gallery walls? You know, the ones that perfectly blend art, photos, and decor into one fabulous masterpiece? If you’ve been dreaming about creating your own but feel a little intimidated—don’t worry. I’ve got you, girl! In this post, I’ll guide you step-by-step on how to create a gallery wall that’s not only stylish but totally YOU. Plus, I’ll share some finds that will make the process a breeze. Find more home decor related posts here.
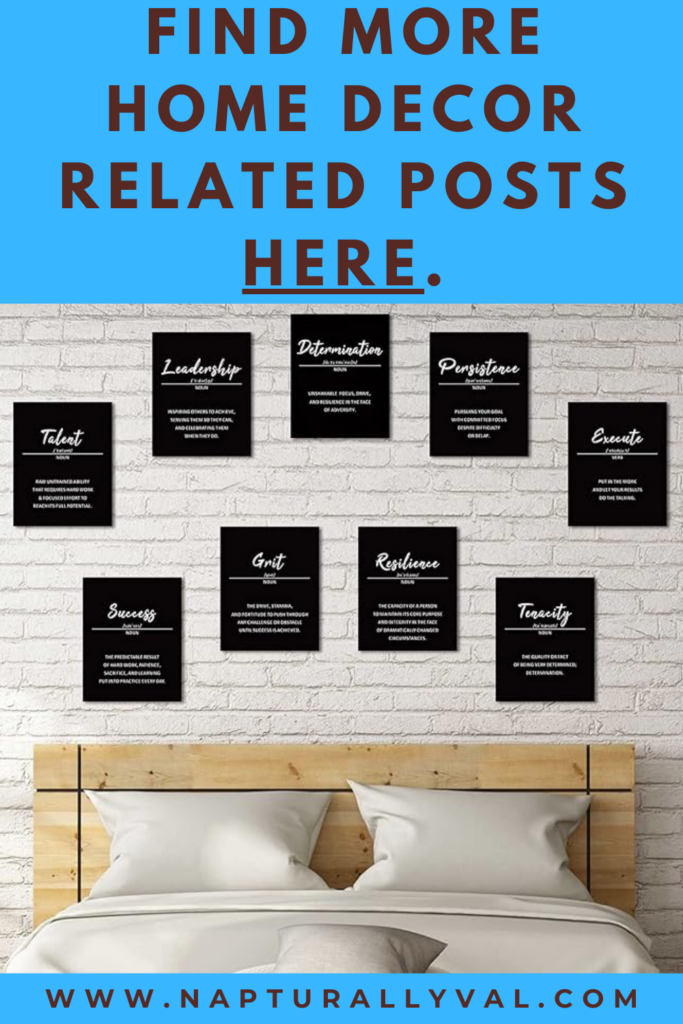
Table of Contents
Gallery Wall Ideas for Beginners: How to Create Your Perfect Wall of Art.
Step 1: Decide on Your Theme or Style
Before you start hammering nails into the wall, think about the vibe you want. Do you love a boho look with lots of natural textures? Or are you into sleek, minimalist designs? Maybe you want a wall full of family memories or a mix of art and motivational quotes. Whatever your style, having a theme will help you pick pieces that work well together.
Popular Gallery Wall Styles:
- Eclectic: A mix of sizes, colors, and frames for a fun and playful look.
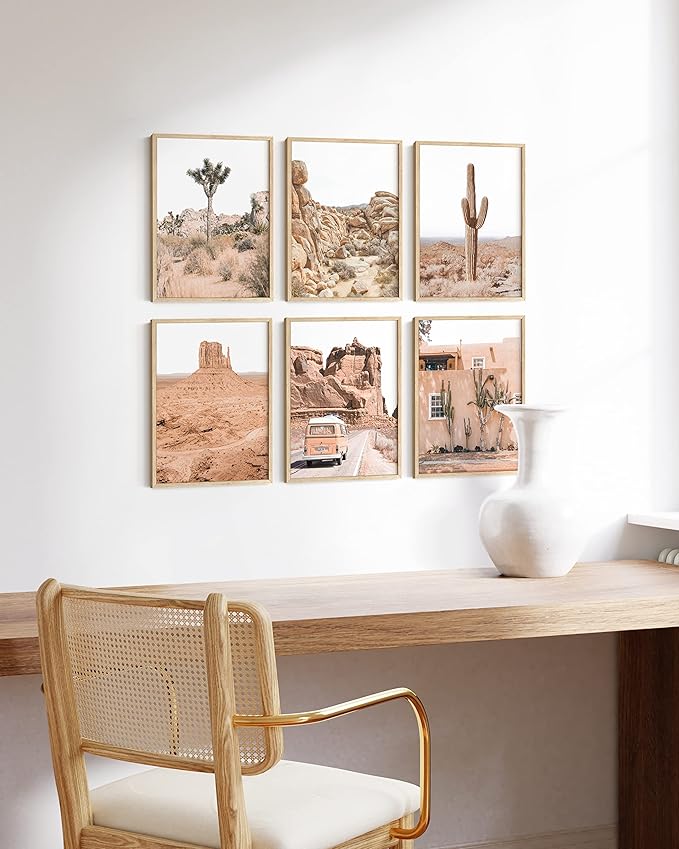
- Symmetrical: Neat rows and matching frames for a classic, polished feel.
- Monochrome: Black and white art or photos with matching frames for a chic, modern vibe.
- Boho: Textures like macramé and woven pieces paired with neutral prints.
Picks to Match Your Style:
- Set of Minimalist Art Prints: Perfect for a sleek, modern look.
- Woven Wall Hanging: A must-have for boho vibes.
- Gallery Frame Set: Includes a mix of sizes for an eclectic or symmetrical layout.
Step 2: Plan Your Layout
Now that you have a theme in mind, it’s time to plan your layout. Trust me, this step will save you from a million nail holes and headaches.
How to Plan Your Layout:
- Measure Your Wall: Use a measuring tape to figure out the dimensions of your gallery space.
- Lay It Out on the Floor: Arrange your frames and decor on the floor first to see how they’ll look together. Play around with spacing and orientation until you’re happy.
- Use Paper Templates: Trace your frames onto paper and tape the cutouts to the wall. This helps you visualize the final look without committing just yet.
Finds to Help You Plan:
- Measuring Tape: A must-have for precise measurements.
- Painter’s Tape: Perfect for hanging paper templates without damaging your wall.
Step 3: Choose Your Frames
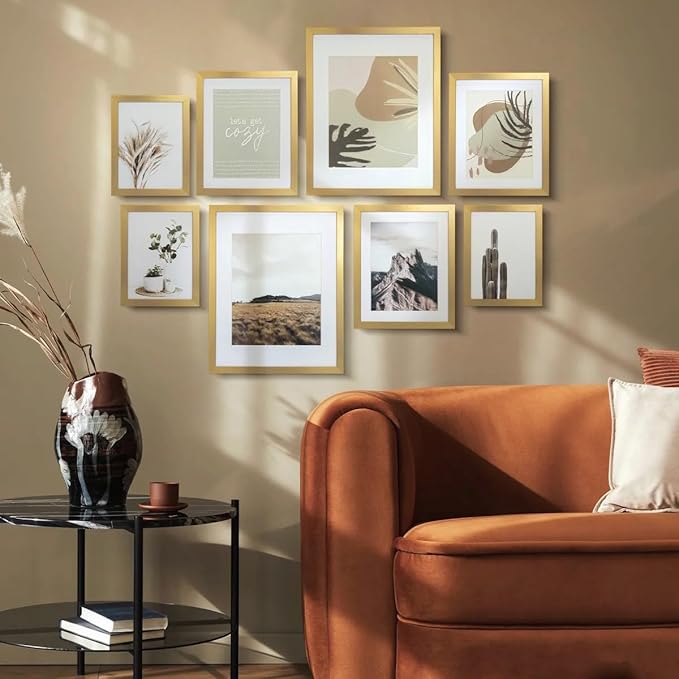
The frames you pick can make or break your gallery wall. For a cohesive look, stick to a consistent color or material. If you’re going for an eclectic vibe, mix and match frames in different styles.
Frame Tips:
- Use black or white frames for a modern look.
- Opt for wooden frames to add warmth and texture.
- Metallic frames (gold, silver, or bronze) can add a touch of glam.
Frame Favorites:
- Gold Metallic Frame Set: Add a touch of luxe to your gallery.
- Wooden Picture Frame Set: Perfect for cozy and rustic vibes.
- Collage Picture Frames: Great for mixing sizes in one cohesive set.
Step 4: Select Your Art and Photos
Now comes the fun part: picking what goes on your wall! Your gallery wall should reflect your personality, so don’t be afraid to mix it up.
Ideas for What to Include:
- Art prints (abstract, landscapes, or illustrations)
- Family or travel photos
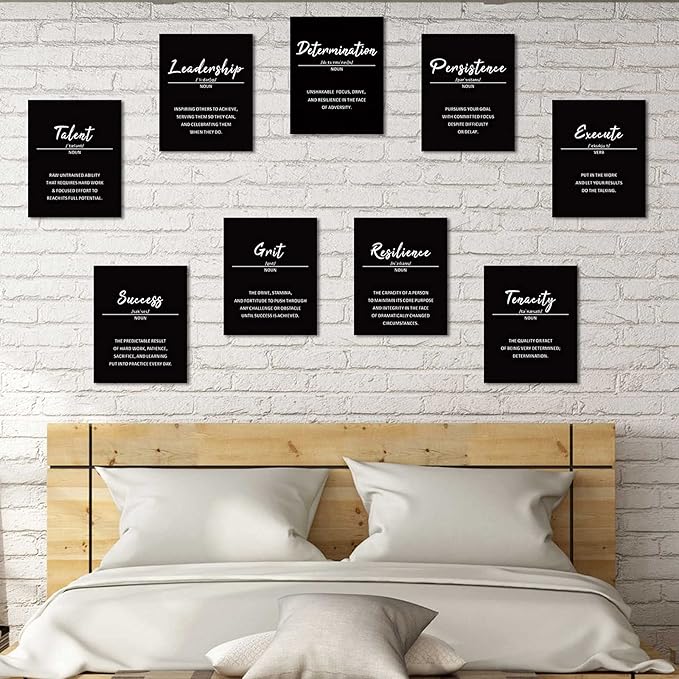
- Inspirational quotes
- Mirrors or clocks for added dimension
- Decorative elements like macramé or baskets
Art Finds:
- Abstract Canvas Prints: Modern and chic.
- Motivational Quote Prints: For daily inspiration.
- Vintage Travel Posters: Add a nostalgic touch.
Step 5: Add Some Dimension
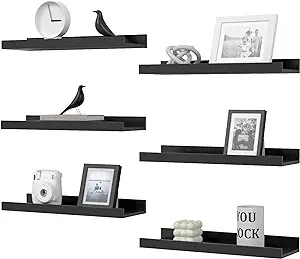
Flat art is beautiful, but adding a few 3D elements can take your gallery wall to the next level. Think small shelves, hanging plants, or sculptural pieces.
Picks for Dimension:
- Floating Shelves: Display small decor items or tiny plants.
- Mini Macramé Plant Hangers: Perfect for a boho vibe.
- Decorative Wall Sculptures: Add texture and interest.
Step 6: Start Hanging!
It’s time to bring your gallery wall to life! Start with the largest piece as your anchor and build around it. Use a level to ensure everything stays straight (crooked frames are a no-go, babe).
Hanging Tips:
- Use a tape measure to space frames evenly.
- Start with the center piece and work outward.
- Don’t be afraid to step back and assess as you go.
Tools for Hanging:
- Picture Hanging Kit: Includes nails, hooks, and a level.
- Command Strips: Renter-friendly and no damage to walls.
Step 7: Accessorize Around Your Gallery Wall
Once your wall is up, think about the surrounding space. Add a cozy chair, a small console table, or a cute plant to complete the look.
Finds to Accessorize:
- Accent Chair: Perfect for a reading nook near your gallery wall.
- Console Table: Display candles or books below your gallery.
- Faux Fiddle Leaf Fig: Adds a touch of greenery without the maintenance.
Bonus Tips for Gallery Wall Perfection
- Start Small: If you’re feeling overwhelmed, begin with a smaller wall or section and expand later.
- Mix It Up: Combine vertical and horizontal frames for visual interest.
- Stick to a Palette: Use a consistent color scheme to tie everything together.
- Light It Up: Add picture lights or fairy lights to highlight your gallery.
Lighting Picks:
- Picture Lights: Elegant and functional.
- LED Fairy Lights: Adds a whimsical touch.
Final Thoughts
Creating a gallery wall is all about expressing yourself and having fun. Whether you’re a beginner or a seasoned decorator, there’s no right or wrong way to do it. Follow these steps, grab some of my favorite Amazon finds, and get ready to transform your wall into a work of art. I can’t wait to see what you create, babe!
Happy decorating, and don’t forget to tag me in your gallery wall photos. I’m here to hype you up every step of the way. Cheers to turning blank walls into masterpieces!

